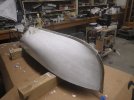
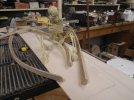
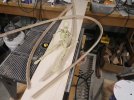
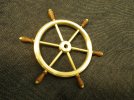
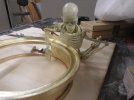
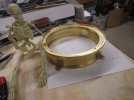
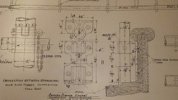
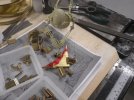
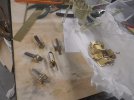
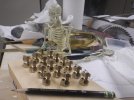
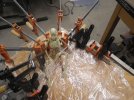
I didn't do the actual casting, but I did make the masters and cast the waxes that were then cast by a friends foundry. this thread covers a lot of the work, including the arrival of my mill and then later the better lathe..
 www.rcgroups.com
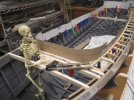
US navy 28ft steam cutter - RC Groups
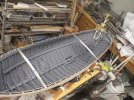
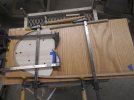
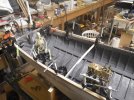
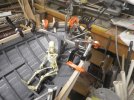
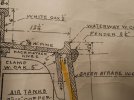
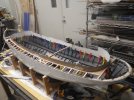
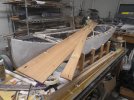
Build Log US navy 28ft steam cutter Steam Boats