Got thickness planer - now what?

Status
Not open for further replies.

Mad Dog

New User
Mad Dog
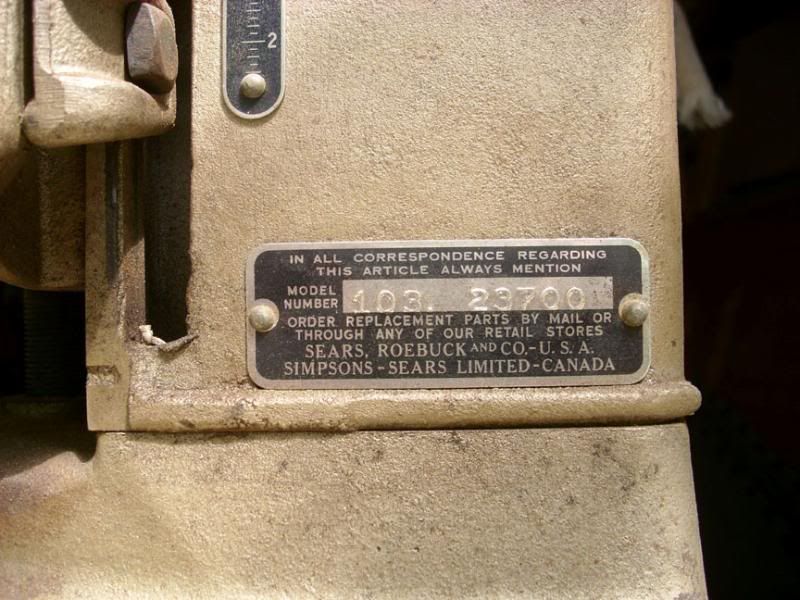
Look at this beauty I just picked up:
DSCI0109.jpg

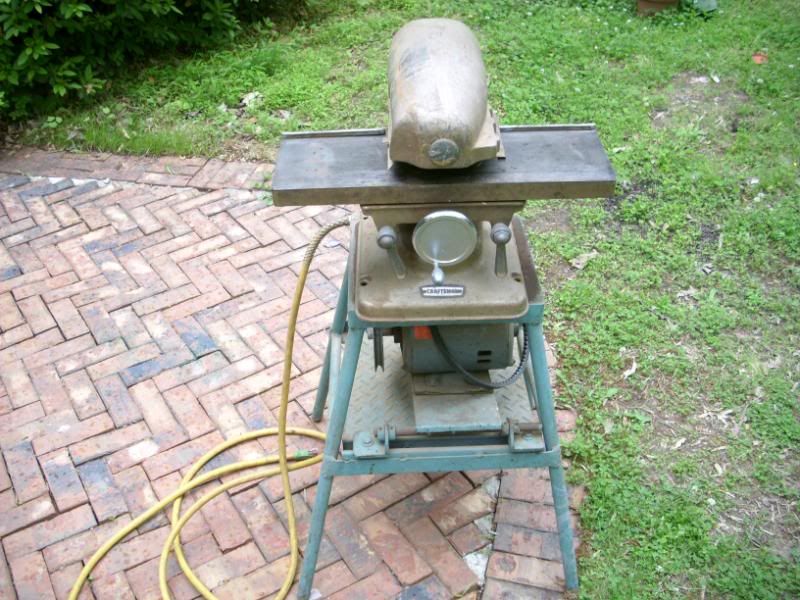
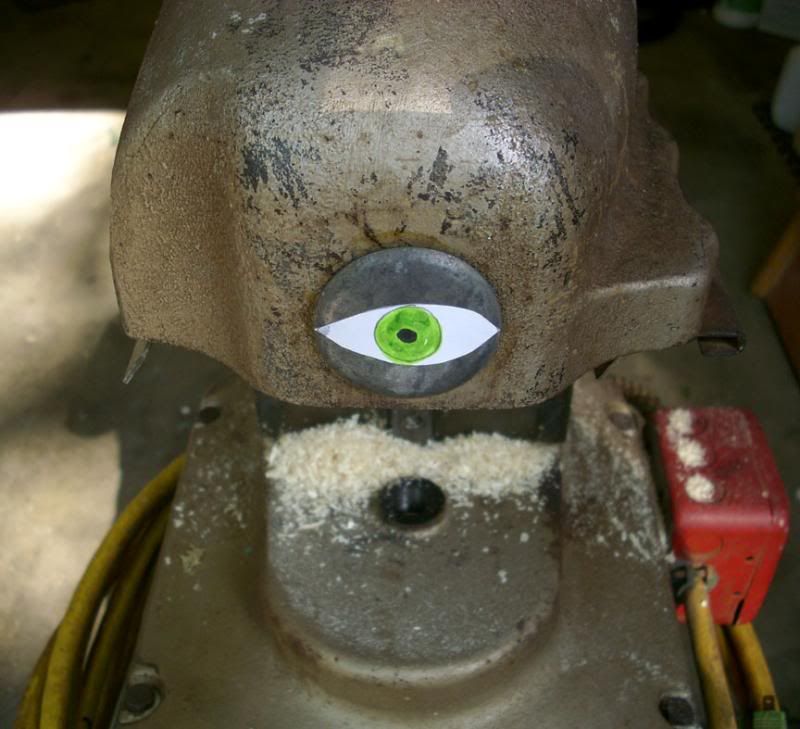
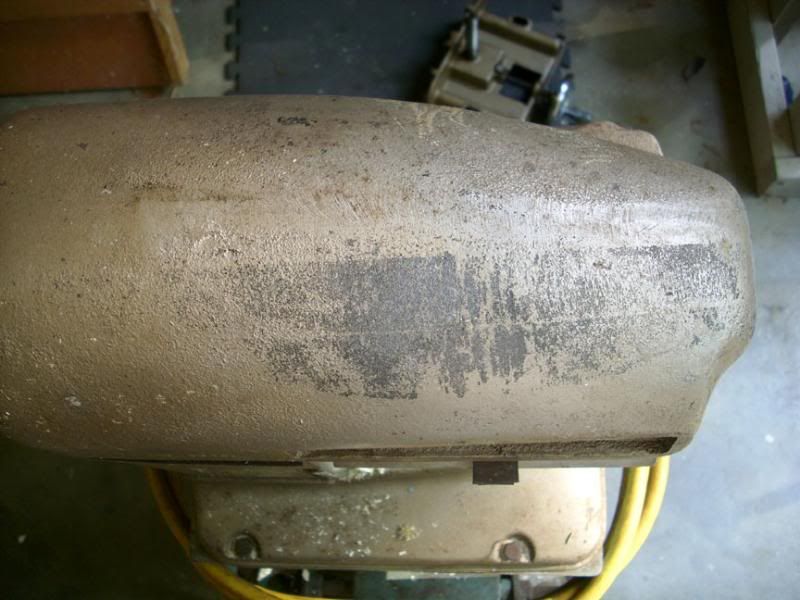
The top part weighs over 70 lb and the motor (1 hp Dayton) and stand feels even more!
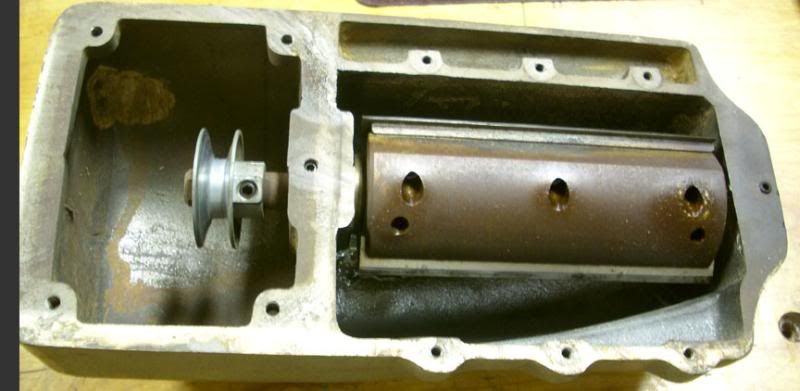
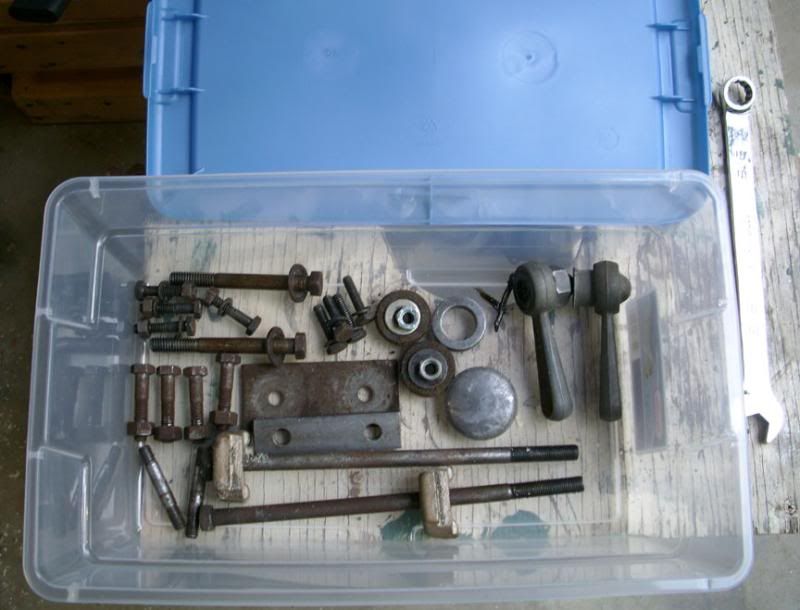
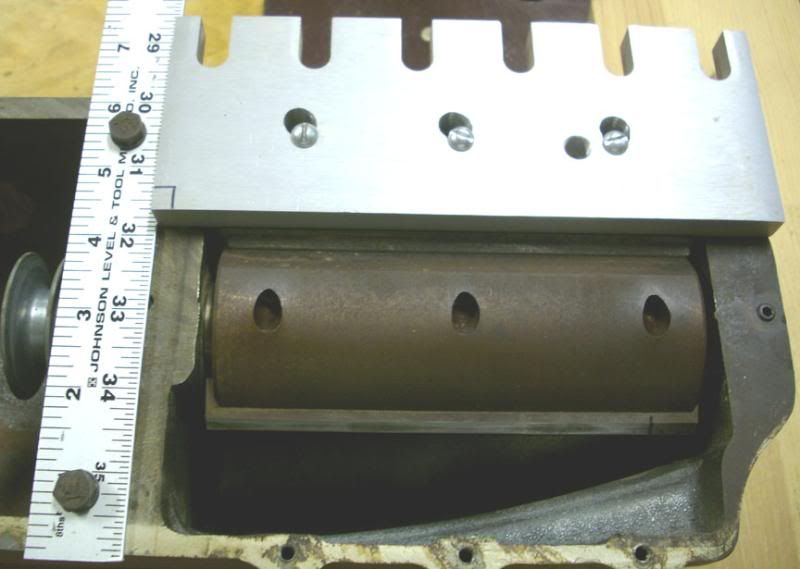
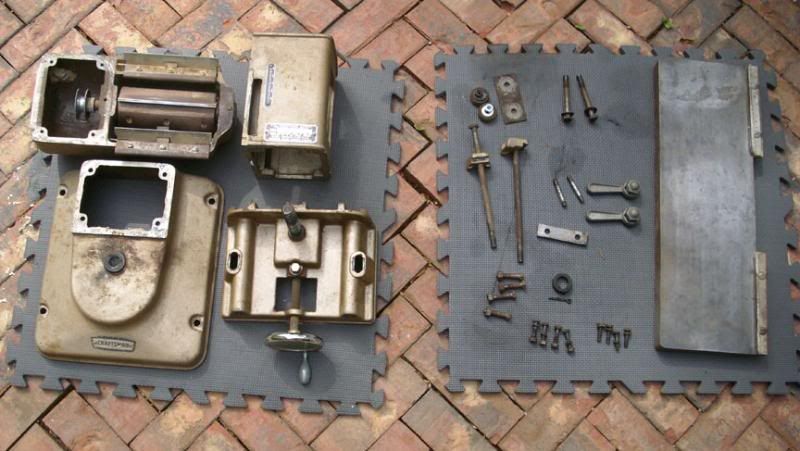
I took it apart to clean and oil some parts but mainly to get at the knives:
DSCI0128.jpg


DSCI0121.jpg


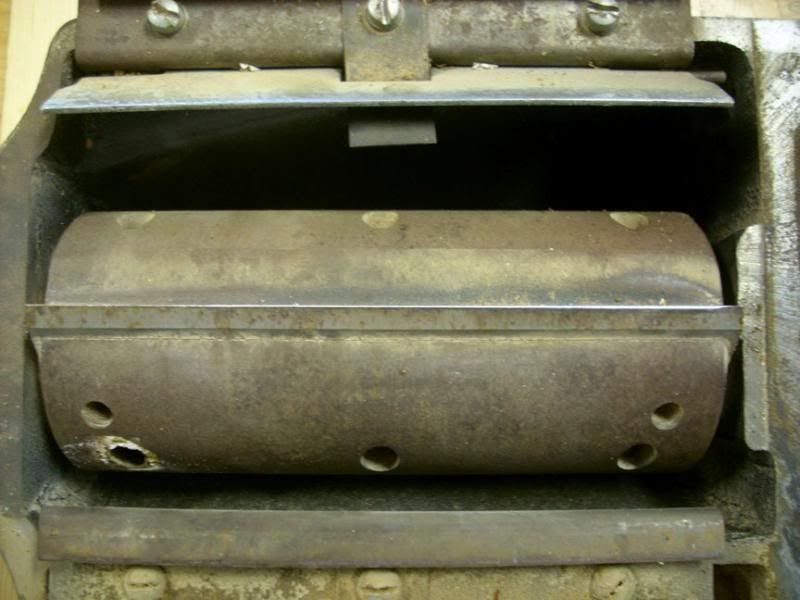
I honed them until the stones glazed over (any hints on removing the glaze? I soaked them in mineral spirits overnight but to no avail). Then I planed a 3/4" pine board down to 5/8". Here are the shavings:
DSCI0130.jpg

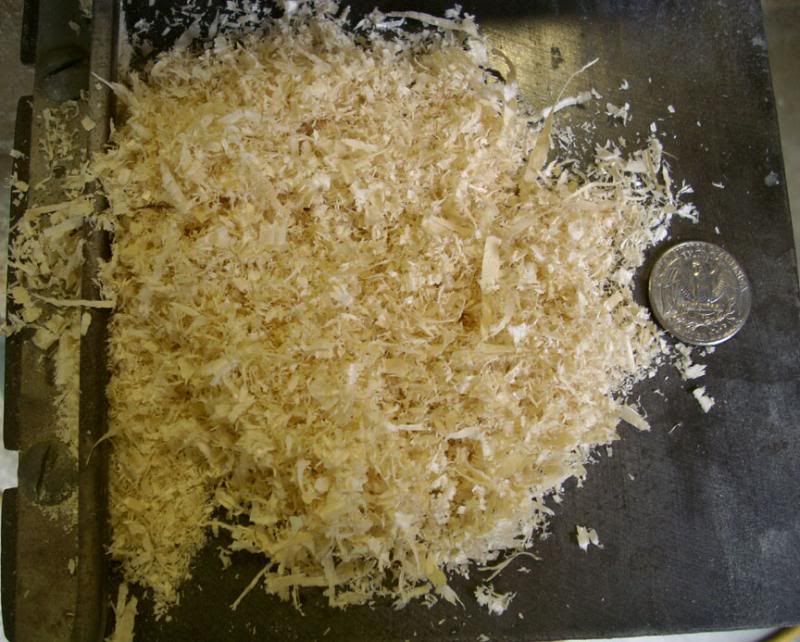
Do they look OK or do the knives need to be sent out for sharpening?
Never had a thickness planer before - it seems mighty hard to push that wood through - is that normal? I was only taking off 1/32" on each pass.

Cheers!
 

Sully

New User
jay
That's a nice little "alien head" planer, Craftsman I assume. Did you wax the beds? That will help with pushing the board through. It looks to me like the knives are scraping the wood rather than cutting.
 

Mad Dog

New User
Mad Dog
Sully,
Thanks for the reply.
Yes, a Craftsman:
DSCI0113.jpg

So, if it is scraping, does that mean the knives need sharpening? Sorry to be such a numbskull. Or do I need to make a deeper cut, say 1/16".
Yeah, I was going to wax up the bed while I had it apart but forgot. Ha! Thanks for reminding me. That might help some but I've got a feeling that maybe the anti-kickback spring may need adjusting - I'm pushing so hard that the thing almost falls over, and it weighs a ton.
On another note, the manual says on thin stuff to use a board underneath - are the 2 boards attached to each other (carpet tape?) or just one on top of the other?
Cheers!
 

bob vaughan

Bob Vaughan
Senior User
Thin stock does better if a sub-base or sub-table is clamped to planer's bed.
That does limit width, of course.

Considering the age of that planer, its very likely that the knives should be sharpened and reset. Could be that's why it was for sale in the first place. The original owner was either too lazy or cheap to install some sharpened knives. I see that a lot on machines with rotating cutterheads that use straight knives.
 

Mad Dog

New User
Mad Dog
Bob,​

Thanks for the suggestion - never would occur to me to clamp a board on the table.​

Yeah, he said the knives were sharpened "recently". Maybe that is the equivalent of "ran fine when parked". Ha!​

The problem, of course, would be how to align them after putting them back in. The manual refers to a "blade setting gage". I'm thinking maybe something would be possible using a dial indicator, ie setting the knife edges a certain distance from the cutter head, or is that too crazy.​

Cheers!​
 

Mad Dog

New User
Mad Dog
Wow!
Good video there Bob.
I was thinking of the dial indicator in a clamped position above the cutter head but I like your idea better of making a support so it actually sits on the cutter head.
Cheers!​
 

ehpoole

Moderator
Ethan
A good ready-made knife setting guage would be one of the adjustable magnetic gauges sold by Woodcraft such as the Large Knife Setting Guage (for 3"-5" diamater) or the Small Knife Setting Guage (for 1-7/8" to 3" diameter). Both are $52 for a set of two. The magnets will hold your knife at a preset height above the cutterhead while you secure the blades. This ensures that your blades are perfectly parallel to and an equal height relative to the cutterhead. You can then adjust the cutterhead to be prefectly parallel to the table by either shimming the cutterhead's tower housing or the bed attachment itself.

145256.jpg


Unless you are skilled at sharpening extremely wide blades of have a great jig for such, I would suggest sending them out for sharpening. It does not cost much to have them professionally sharpened and you'll know that your first set of knives are properly sharp. You may also wish to purchase a spare set of blades for your planer so that you have a spare set to install while the first set is out for [future] sharpening, thus ensuring no downtime. From the looks of it, your planer probably uses standard 6" or 8" jointer knives (just take the measurements to make certain before ordering).

Because your thickness planer is basically just an inverted jointer, you will need to ensure that the bottom side of your boards are perfectly flat (jointed) because it does not have the pressure rollers to flatten out a cupped board to ensure a perfectly parallel surface (this can be both bad and useful depending upon application). Also beware that the quality of your planed surface will be governed by both the depth of cut (I would suggest no more than 1/8" since it is hand-fed, 1/16" for extremely hard woods like Purpleheart) and the speed at which your push/pull the board through. The more time you take to push/pull a board through the more cuts/inch your planer will make and the smoother the surface -- push/pull it through very quickly and you will have a series of undulating scallop cuts (though easily removed with light sanding).

Your planer's narrow bed limits the maximum width for perfectly planed (and uniform) boards to the width of the knives. However, if your application can tolerate a less perfectly planed board then you can double the board width by expoiting it's open head design -- just take extra shallow passes because the second feed-through will not be optimally oriented for grain direction. Ideally they manufacturer would have provided a double-width bed for this purpose. Part of the reason for using an auxilliary bed when planing thin materials (especially 1/8" to 1/4") is to provide the operator with a margin of safety (especially if no depth stop is builtin) if you accidentally lower the head more than intended -- you will drive the knives into a sacrificial auxilliary bed rather than the cast iron bed. For really thin materials (1/8") you may wish to use double-sided tape to secure the thin board to another thicker board (MDF for example) while you feed it through. Really thin boards are much more likely to disentegrate if the knives catch a knot or some wild grain.

HTH - Enjoy your new toy!
 

Bas

Recovering tool addict
Bas
Corporate Member
From the looks of it, you could benefit from new knives. I've bought a couple of sets from Global Tooling, they offer a good product for a reasonable price. Setting knives takes skill, practice and patience. I have plenty of all of those except for the first three categories I listed. Definitely invest in a dial indicator and/ or a jig. Harbor Freight sells a decent one (although you'll want to to get some different tips to get a more accurate reading). You can buy a jig or make one yourself using some rare earth magnets. There are a number of videos on Youtube that explain the art of setting knives. I really can't offer much more advice in this area, I've never been a big fan of the whole process.

With a 1HP motor, I would not take cuts deeper than 1/32", unless you're planing a very narrow board and/ or using soft wood.

Oh, and that is one cool looking planer! Nice score!
 

Sal Buscemi

New User
Sal
Aww man, someone just beat me to an alien planer that was for sale in Augusta. I called and the lady told me it was just sold ten minutes before. So weird, two aliens in one week!

Sal
 

Mad Dog

New User
Mad Dog
...Aww man, someone just beat me to an alien planer...
Sal
Well, that makes me feel uncool, but now I know you are looking for one I'll keep my out eye for you:
DSCI0134.jpg

...Oh, and that is one cool looking planer! Nice score!...
Yeah, I've spent more time looking at it and trying to clean it than actuaaly using it! Here's something that may make you laugh. The eye ("bearing retaining cap") keeps falling out in use so someone had duct taped it in. Also, see that band of black, adhesive looking stuff:
DSCI0136.jpg

I spent 3 days using all solvents known to man in an attempt to remove it. On closer examination, I found it is UNDER the gold paint, ie, some kind of primer! Ha!
Those tips for the dial indicator - can you unscrew the existing one and screw one of those in?
Hey, I found a cheaper source for knives - Amazon! $20, Freud and free shipping (if you add something $5 or more).

Bob, by a miracle I've the FWW issue 107 that you wrote about planer tune-up. A crucial element is a full-size sketch of the cutterhead. Does this mean the head has to be removed in order to measure it? Also, when using the cutterhead-resting base, wouldn't you need to ensure the knife is 100% vertical, as in the top knife in this pic?
DSCI0144.jpg

I've disassembled the planer (again!) but isn't so nice to work with tools that actually were designed to be taken apart! Before waxing the bed, any suggestion on cleaning up the cast iron? Incidentally, I'm becoming a big fan of these "shoe box" storage units - they stack! - get them at Target for a buck a piece.
DSCI0142.jpg

Cheers!
PS. Ethan, thanks a lot for taking the time to write all that out. I'm feeling a bit more educated about planers now. That jig looks like the bee's knees but I think I'll try and make Bob's jig and see how that works out. Thanks again!
 
Last edited:

bob vaughan

Bob Vaughan
Senior User
Does this mean the head has to be removed in order to measure it? Also, when using the cutterhead-resting base, wouldn't you need to ensure the knife is 100% vertical, as in the top knife in this pic?

That planer isn't going to be all that easy. For that one, I'd make a base that rode on the table with the plunger tip up. That way, the knives will be set parallel to the table.

Second option is if your cutterhead and table are verified to be parallel, then taking off the casting and working on the knives while the casting is upside down would be the easiest.

I knew of that planer when I wrote that article, but I didn't ever expect that model planer to have ever survived long enough to become a question. Just goes to show that its difficult to predict the details of the future. That was back in the days before internet popularity, too.
 

Mad Dog

New User
Mad Dog
...Second option is if your cutterhead and table are verified to be parallel, then taking off the casting and working on the knives while the casting is upside down would be the easiest...

Thanks for the reply, Bob.

The table is set by unscrewing 2 bolts from under the sub-table, sandwiching a block of wood between the table and cutter-head and then re-tightening the bolts.

I'm surprised the casting could be used for registration but that is a good thing. How about the following setup:

DSCI0150.jpg


I first pushed the 1/2" scrap Al plate against a knife and then secured the ruler against it. The plate can now be moved up and down parallel to the knives. Could this arrangement be used to install new knives? ie, so they barely pass the plate.

Cheers!
 

ehpoole

Moderator
Ethan
Unless I am missing something, I really think you all are grossly overcomplicating knife setup with this planer. Everyone seems to want to treat it like a normal planer when, IMHO, it should be thought of as a hybrid between a jointer and planer in which the knives are inaccessible when assembled.

Since you have no direct access to the knives when assembled, the simplest solution is to use either a commercial or homemade jig like the one I pointed out earlier. Using a jig like this you can easily set the knives to be parallel (i.e. a fixed projection) to the cutterhead. IMHO that is the only practical route to go since you can't access the knives with the planer assembled and thus can not reference the bed directly. To me, trying to set the knives themselves parallel to the bed is a lesson in utter futility unless by shear coincidence the bed just happens to be naturally parallel (a real longshot).

Once you have the knives set parallel to the cutterhead all you need do is reassemble. Run a piece of S4S wood through the planer with the new knife setup. After running the board through the planer, use a pencil or maker to mark the front and rear of the board (relative to the cutterhead assembly). Then use a digital or dial caliper (that registers in .001" [mils]) to measure the front and rear of the board and make note of the error. If the front side of the board is 0.004" shallower than the rear, then shim the front side of the cutterhead tower assembly by 0.002" (I prefer brass shim stock for this, but most anything stable can be used). Make another pass with the planer and again note any error and refine the first adjustment until you feel your tolerances are with acceptable limits (I would say 1-2 mils [0.001-0.002"] error is fine over the width of the cutterhead).

It just seems so much more obvious to me that the knives should be set relative to the cutterhead for the sake of simplicity and consistency. Once they are set relative to the cutterhead it is just a matter of shimming the cutterhead (or the bed if one prefers) until it is parallel with the cutterhead (and by extension the knives). This should yield a consistent standard by which the knives can be set after each sharpening and the shimming should ensure that the cutterhead continues to remain parallel to the bed with little, if any, need for future adjustment. Done this way, knife setting should be quick and painless each and every time.

HTH
 
Status
Not open for further replies.

Premier Sponsor

Our Sponsors

LATEST FOR SALE LISTINGS

Top