My Thien style separator

Status
Not open for further replies.

CarvedTones

Board of Directors, Vice President
Andy
I got a big fiber barrel and made what I think is a pretty decent one after my first attempt collapsed a plastic trash can...

Here is the bucket with the top just sitting on it:

withouthoses.jpg


Here is the top:

top.jpg


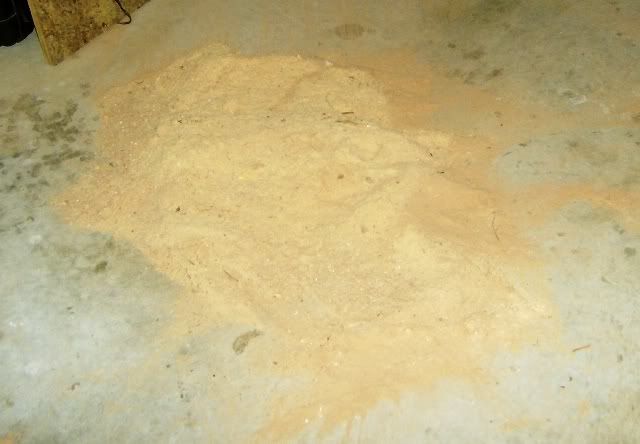
Here it is with hoses hooked up about to test. That pile of saw dust is about 2' x 3' and maybe 4" deep, mostly very fine. I dumped the ShopVac out and beat the dust out of the filter and swept dust out of my 9" and 14" band saws because I had used both recently without DC.
abouttotest.jpg

Here is a close up of the pile:

sawdust.jpg


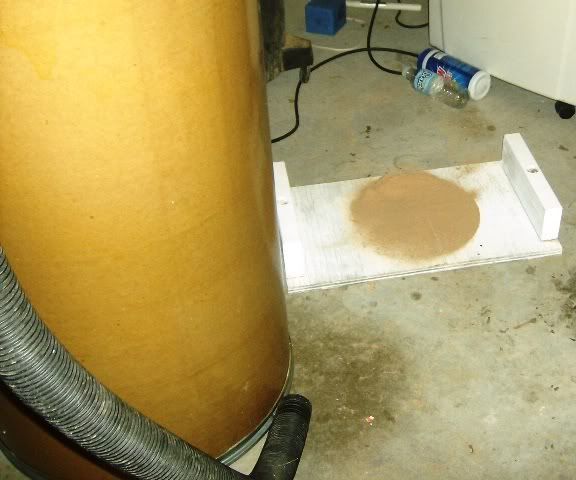
I vacuumed it up through the separator in slow passes, but once I slipped up and went into the pile a little too heavy. I had read about that - it's a separator, so if you give it dust and no air, it can't separate. The first time I got this much in the vacuum:

afterfirsttest.jpg


So I tried again and was careful not to overload it. I got this:

aftersecondtest.jpg


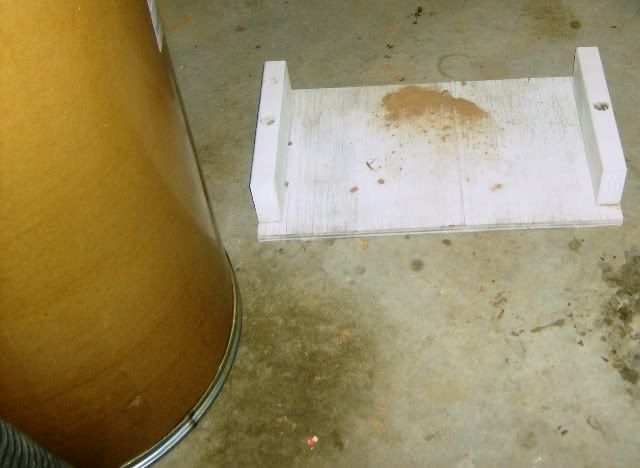
A little more than nothing, but this was largely very fine stuff, so I am good with that. My guess is that is maybe 1% of the pile.

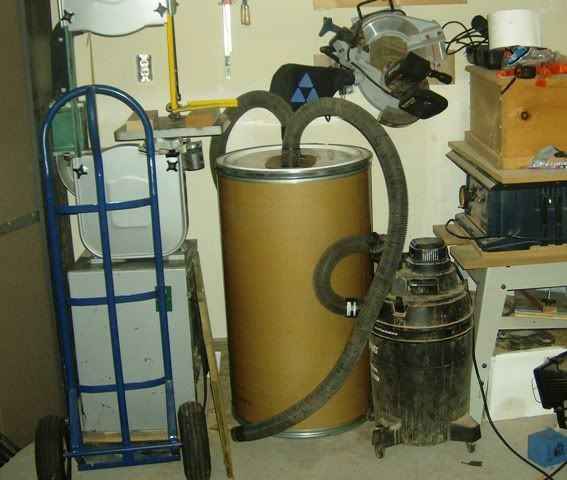
Here is where it lives now:

whereitlives.jpg
 

Bas

Recovering tool addict
Bas
Corporate Member
Nice build Andy. The baffle works really well when the airstream contains a mixture of smaller and larger particles, like you might get from a biscuit joiner. It will do OK with sanding dust, but it's not as spectacular. Still, 95+% is nothing to sneeze at (but sneeze from!)

You may want to post your pics to Phil's forum as well -> http://www.cgallery.com/smf/index.php?board=1.0 .I think you might be the first one to use a fiber drum with a baffle.
 

CarvedTones

Board of Directors, Vice President
Andy
Yeah, without the baffle there is a serious problem with scrubbing and it doesn't get as much cyclonic action.

I posted at Thien's site and he suggested a change in the elbow that I can pretty easily make to increase the efficency.

EDIT - here is the changed intake. It looks messy, but is clear of obstructions inside.

intake.jpg
 

CarvedTones

Board of Directors, Vice President
Andy
Some additional notes...

It is a fiber can that is lined/coated inside and out. You will notice in some of the pictures (probably most notable in the picture with the smallest amount of dust that went into the vac) that it is actually shiny/reflective. I would not use an uncoated can, though you could probably coat it yourself with latex paint.

The top is plastic. I had a choice between metal and plastic (I got it off CL and the seller had a few with different lids) and I choice plastic as I figured it would be easier to work with and quieter. Turns out there are pros and cons. It was very easy to work with, but it has no rigidity and screw or bolt heads could be pulled right through it (I think; I did not actually try as I only have the one). So I used hardboard to make an overlay for the hose fittings.

The "elbow" is a Rube Goldberg job. I didn't have one handy. I had used aluminum in the plastic can in my first attempt at making one of these and was disappointed at how easy it bent and then didn't want to bend back when I removed it. And I needed some kind of plate or screw anchor. So I took a short piece of 2x4 (about 4" - roughly a square) and cut a 2.5" hole in it. Then I took a plastic cylinder from some window wipes (sort of like baby wipes, but a taller skinnier package) and cut the bottom off and cut about a 50 degree or so miter at the top on the band saw. I attached it to the wood block with duct tape (hey - it's a duct - for once it is the right product
smiley.gif
) and I screwed the overlay to the block through the top.

To make the inner plate, I took the ring off the top and spring clamped it to my hardboard. I used a washer and a pencil to scribe a circle just inside it and then used a 4.5" grinder disc instead of a washer to scribe a smaller inner circle. I cut it with a 1/8" blade on my little band saw and was very careful to stay on the line on the outer circle, but was less concerned about perfection on the inner one, since it would be a gap anyway.

I put the first bolt through the overlay and top and tightened a nut against it. Then I stood the top and overlay on edge lined up and marked the inner plate, with a small fudge factor for the can lip. I test fit and made minor adjustments when I added the other two. The bolts do double duty, maybe even triple. They keep the overlay tight against the top and the baffle spaced properly. Because the top is plastic and they are all near center, there is a little flex. I used this to my advantage. The baffle is actually pushing against the side very slightly when I put the top on and clamp the ring, it is tight to the side it touches and there is no rattling.

I will modify the elbow. I have another plastic container and I can cut it similar to the first one, then cut the first one short and attach it. When I did the first test, it was very obvious when I got most of the dust. It choked the vac for a second. I think it dumped that mess of dust onto the plate with airflow stopping and then sucked it off when airflow started again. I can see how aiming it more parallel would have resulted in more of it making it to the open part of the baffle and falling.
 
Status
Not open for further replies.

Premier Sponsor

Our Sponsors

LATEST FOR SALE LISTINGS

Top