
When I restored the first Hocking Valley Cornsheller I had enough of the original pieces to get most of the measurements needed to do the build, plus I found plenty of photos on the web to use to get the details worked out. This project is a little different mainly because most of the original wooden parts of the sheller are either missing or are in such bad shape that I had to work from memory to get it done.
I began the restoration by breaking down all of the metal pieces into smaller pieces just to make it easier to handle.The client had all of the metalwork sandblasted which made it easier to disassemble and saved me quite a bit of time. I weighed all of the metal components just for curiosity sake. Total—150 lbs.


After spending a little time piecing the wooden parts of the puzzle together, I made up my material list and headed off to buy the lumber for the project. I bought enough 8/4 white oak to do the frame sections and 5/4 white oak to do the box sections.
Here are a couple of photos of the original woodwork that I had to work with.


All of the joinery is mortice and tenon which I did with my handy-dandy bandsaw tenoning jig, forstner bits on the drill press and a little chisel work. I used the scroll saw to cut the holes out for the bearings and for the top in- feed section.
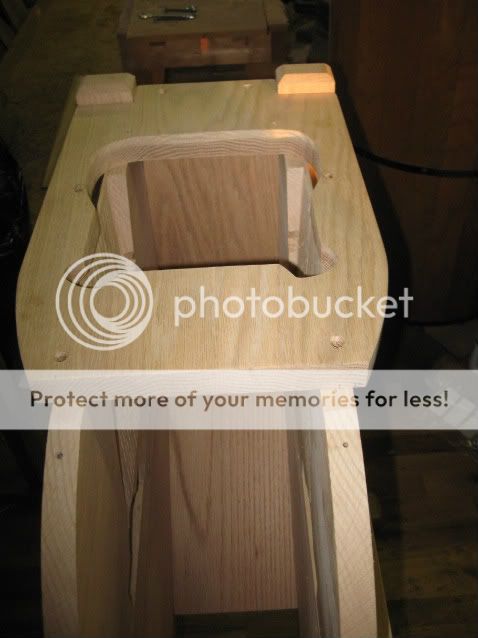
So after 3 days of woodworking and head scratching this is where I’m at with the restoration.I started by sizing all of the frame parts to 1 3/4×2 1/2 and planed all of the box pieces to 1” thick.
Dry- fit frame

All of the woodwork in place.

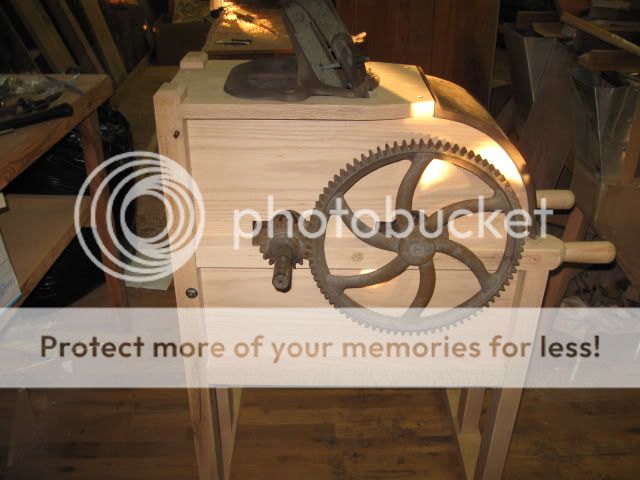
The guts in place

On to the paint job. Stay tuned
I began the restoration by breaking down all of the metal pieces into smaller pieces just to make it easier to handle.The client had all of the metalwork sandblasted which made it easier to disassemble and saved me quite a bit of time. I weighed all of the metal components just for curiosity sake. Total—150 lbs.
After spending a little time piecing the wooden parts of the puzzle together, I made up my material list and headed off to buy the lumber for the project. I bought enough 8/4 white oak to do the frame sections and 5/4 white oak to do the box sections.
Here are a couple of photos of the original woodwork that I had to work with.
All of the joinery is mortice and tenon which I did with my handy-dandy bandsaw tenoning jig, forstner bits on the drill press and a little chisel work. I used the scroll saw to cut the holes out for the bearings and for the top in- feed section.
So after 3 days of woodworking and head scratching this is where I’m at with the restoration.I started by sizing all of the frame parts to 1 3/4×2 1/2 and planed all of the box pieces to 1” thick.
Dry- fit frame
All of the woodwork in place.
The guts in place
On to the paint job. Stay tuned