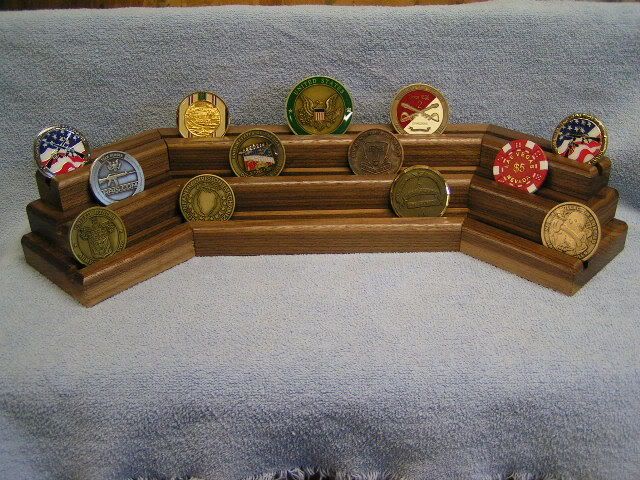
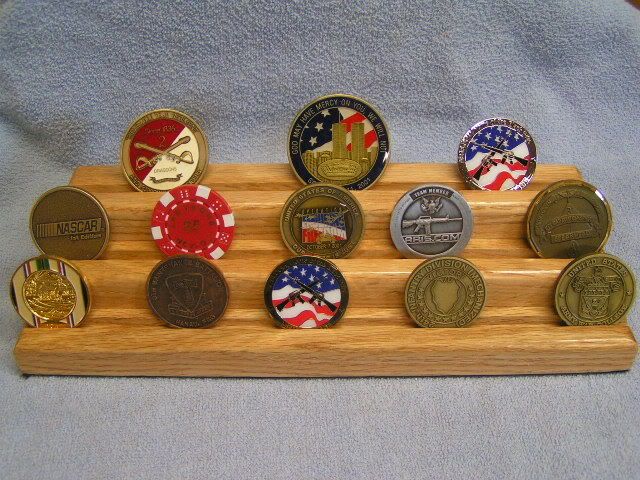
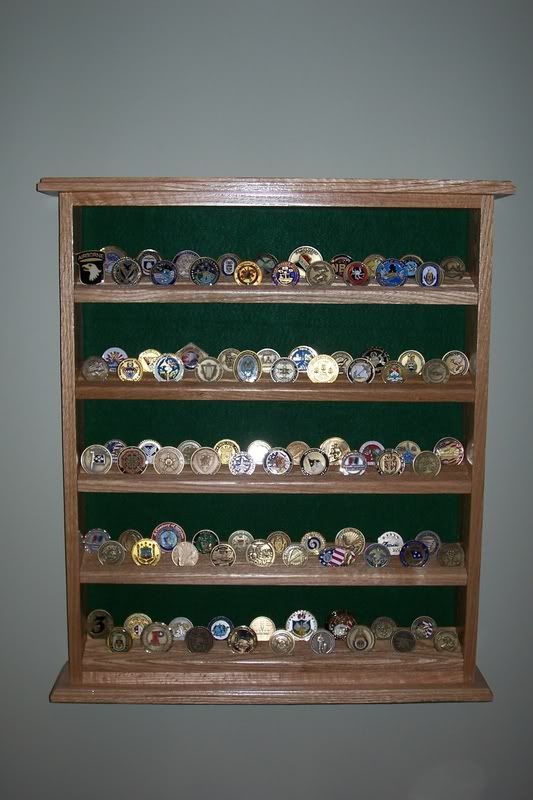
The coins are military challenge coins. Alot of service members get them while serving, It's like an award that is handed out from higher ranking officials. But alot of people just collect different coins, you can buy them. But the most valuable ones to an individual is the ones that are given to him from someone in the military or high ranking goverment officals.
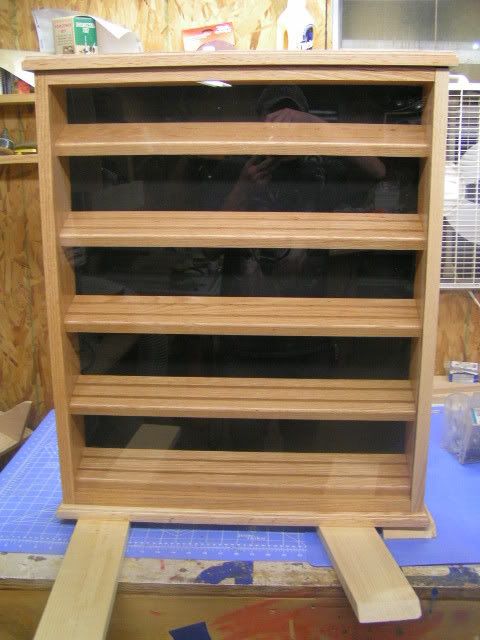
I used 1/8" glass from lowes and it wasn't tempered, the size of hinges i used was small. the door lip was less than 3/4" thick so i couldn't use a big hinge.
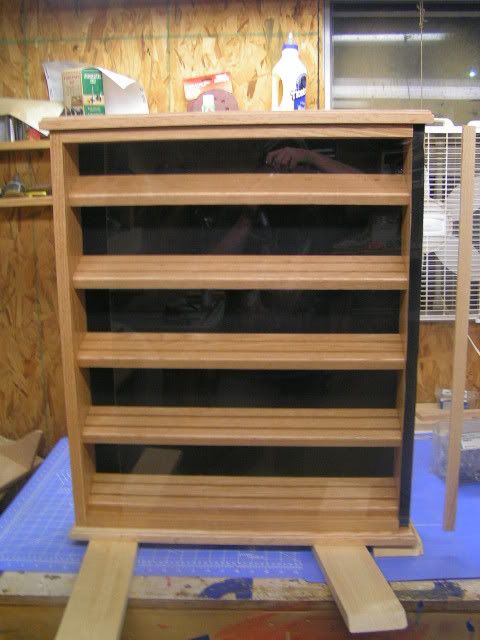
This one i used 1/8 plexi glass from Lowes.
here is the story of the challenge coins.
[FONT=Verdana, Arial, Helvetica, sans-serif]
History of the Challenge Coin[/FONT]
[FONT=Verdana, Arial, Helvetica, sans-serif][SIZE=-1]During World War I, American volunteers from all parts of the country filled the newly formed flying squadrons. Some were wealthy scions attending colleges such as Yale and Harvard who quit in midterm to join the war. In one squadron, a wealthy lieutenant ordered medallions struck in solid bronze carrying the squadron emblem for every member of his squadron. He himself carried his medallion in a small leather sack around his neck.[/SIZE][/FONT]
[FONT=Verdana, Arial, Helvetica, sans-serif][SIZE=-1]Shortly after acquiring the medallions, this pilot's aircraft was severely damaged by ground fire. He was forced to land behind enemy lines and was immediately captured by a German Patrol. In order to discourage his escape, the Germans took all of his personal identification except for the small leather pouch around his neck. In the meantime, he was taken to a small French town near the front. Taking advantage of a bombardment that night he donned civilian clothes and escaped. However, he was without personal identification.[/SIZE][/FONT]
[FONT=Verdana, Arial, Helvetica, sans-serif][SIZE=-1]He succeeded in avoiding German patrols and reached the front lines. With great difficulty, he crossed no-man's land. Eventually, he stumbled into a French outpost. Unfortunately, the French in this sector of the front had been plagued by saboteurs. They sometimes masqueraded as civilians and wore civilian clothers. Not recognizing the young pilot's American accent, the French thought him to be a saboteur and made ready to execute him. Just in time, he remembered his leather pouch containing the medallion. He showed the medallion to his would-be executioners. His French captors recognized the squadron insignia on the medallion and delayed long enough for him to confirm his identity. Instead of shooting him, they gave him a bottle of wine.[/SIZE][/FONT]
[FONT=Verdana, Arial, Helvetica, sans-serif][SIZE=-1]Back with his squadron, it became a tradition to ensure that all members carried their medallion or coin at all times. This was accomplished through a challenge in the following manner, a challenger would ask to see the coin, if he challenger could not produce his coin, he was required to purchase a drink of choice for he member who had challenged him. If the challenged member produced his coin, then the challenging member was required to pay for the drink. This tradition continued throughout the war and for many years after while surviving members of the squadron were still alive.[/SIZE][/FONT]
[FONT=Verdana, Arial, Helvetica, sans-serif]"Coin Check" Rules[/FONT]
[FONT=Verdana, Arial, Helvetica, sans-serif]
1. A “Coin Check” consists of a challenge and response. A challenge is initiated by either holding your coin in the air or slamming it on a table or floor and yelling “Coin Check!”
2. Individual(s) challenged must respond by showing their Coin with their own unit’s logo to the challenger within 10 seconds.
3. Anyone challenged who doesn’t show their Coin must buy a round of drinks for all challenged, including the challenger.
4. Coin Checks are permitted anywhere and anytime.
5. If everyone being challenged produces their Coin, the challenger must buy a round of drinks for all challenged.
6. If you accidently drop your Coin and it makes an audible sound on impact, then you “accidentally” initiated a Coin Check.
7. There are no exceptions to the rules. They apply to clothed or un-clothed. One step and an arms reach are allowed.
8. A Coin is a Coin. They are not belt buckles, key chains or necklaces. Coins worn in a holder around the neck are valid. [/FONT]
[FONT=Verdana, Arial, Helvetica, sans-serif]
ALWAYS CARRY YOUR COIN AS A REMINDER OF YOUR COMMITMENT AND CONNECTION TO SOMETHING BIGGER IN YOUR DAILY LIFE.[/FONT]

")