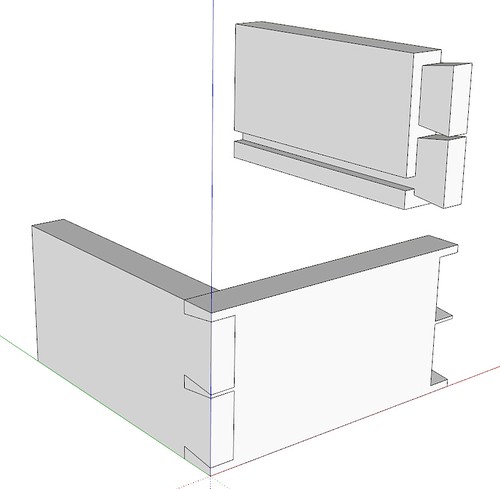
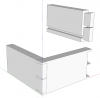
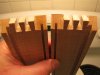
I've seen a number of methods for hiding the ends of dadoes used for box or drawer bottoms, but I'm wondering if anyone has 'tried them all' and arrived at a preferred solution. Stopped dadoes are easy with a power router (I'm told), and possible with a router plane and chisel (I've done it but it wasn't easy).
I'm after a hand tool only approach. Many thanks.
Drawer bottoms and a box bottom are different in most cases for me. I am thinking plow plane like a Stanley 45/55. I don't saw out scribed dadoes.. its a bunch of work I can avoid.
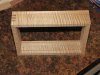
Box bottoms: you can do the "captured bottom" like Mike shows and this is a common technique when using a plywood bottom or other man-made material that doesn't expand.
Box bottom option: don't even bother with the dadoed operation and attach the bottom to the sides. After messing with the dado to fit the raised panel lid, this bottom is quick and trouble free. The veneered field wrapped in a mitered mahogany edge will not expand and pull the dovetails off the pins.
The groove concept on this box is simply an upside down drawer. Fitting the matching edge to the lid is a bear. That's why you will find so many of these boxes being built and the front edge left without a matching cove.
In my view this box with a little thumb catch carved in the lid and no edge bead just doesn't look right and says please finish me up?? I guess it comes down to the person's point of view.


")