
In 1978 Wilson Art came out with a Japanese print laminate series, one of which was Victorian Marble. I liked it so I got some and did my bathroom including the tub surround with it. The kids grew up with that pattern in their young lives. In 2006, we got a new tub surround and out came the old marble pattern laminate panels. Both boys spoke of the various patterns they remembered as children. The larger panel was on Finland Birch and was in pretty good shape so I saved it.
I decided it was time to do something with that 5’x5’ panel, so I cut it up for drawer fronts for a couple of shop storage drawer units for the boys. I used lots of those halfway useable salvaged and new plywood cut-offs that line the walls of any shop. Even a lot of the lumber was salvaged from other jobs. While it turned out to be a little more involved than what I’d imagined, the end results seem worth it.
These will be presented to the boys next month as birthday presents.
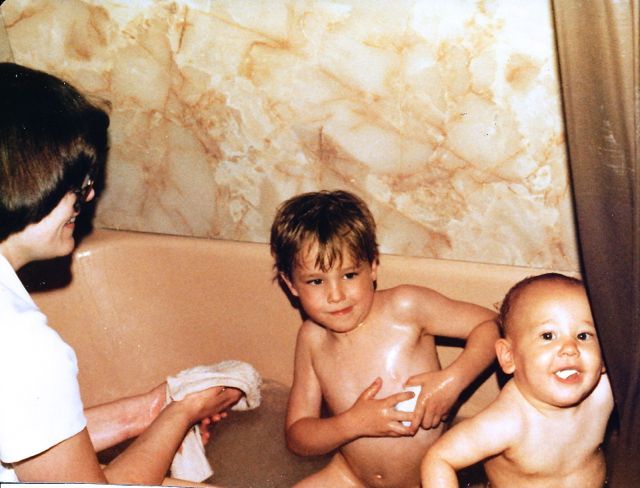
Taken in May 1979 of Becky and the boys in the bath with the marble in the background.
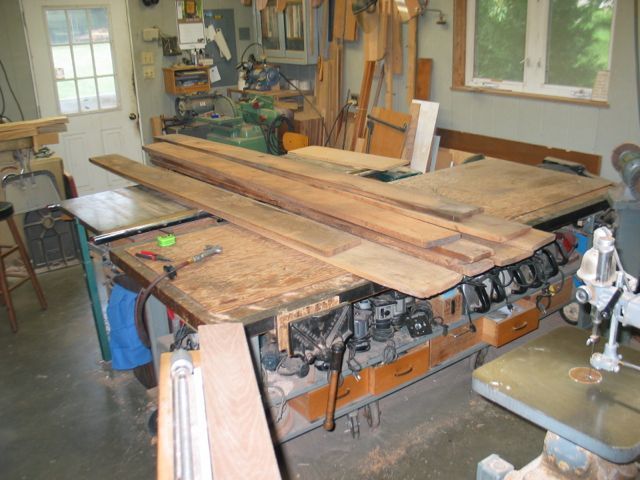
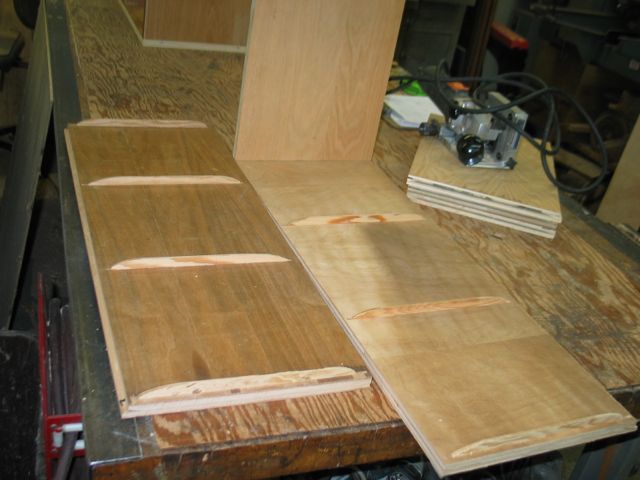
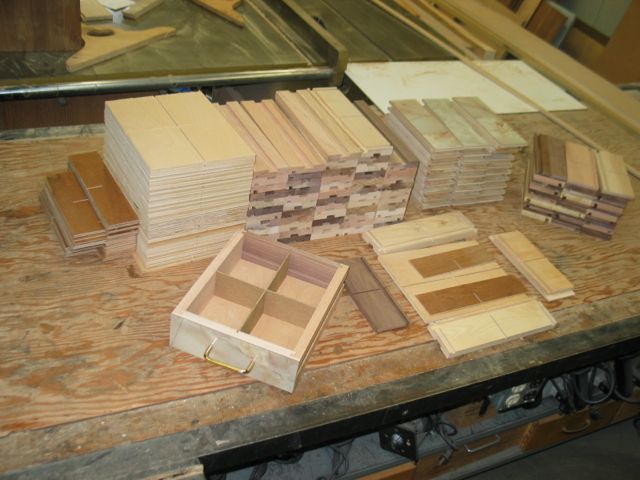
The drawer side lumber ready to be worked.
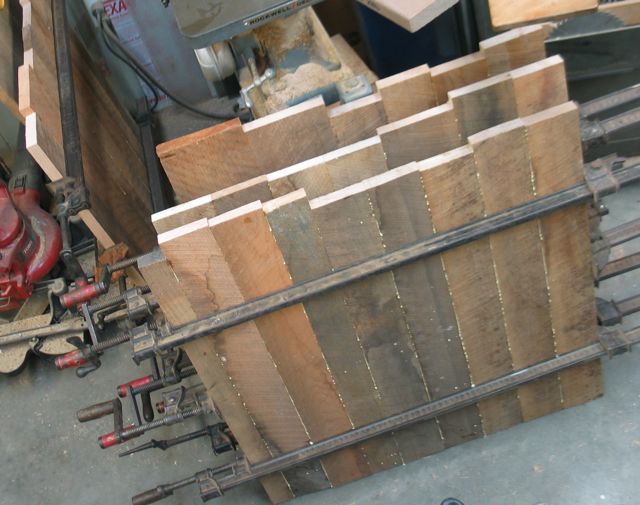
Panels were glued up to approximate size of the cabinet sides to allow better use of the lumber for drawer sides.
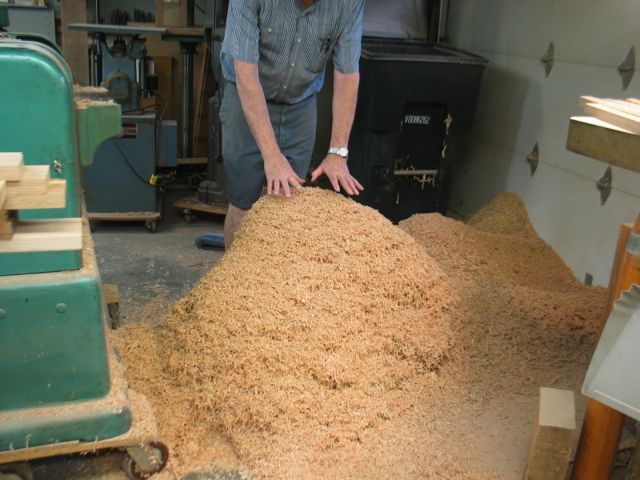
Pile of shavings from the drawer side work
Top cabinet top and bottom with splines inserted. Splines were done with the Elu machine. Splines are doug fir ¼” plywood planed to 4mm.
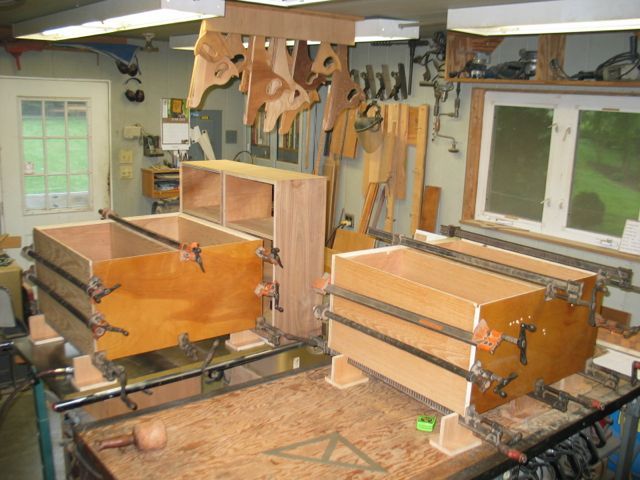
Lower cabinet cases being glued up.
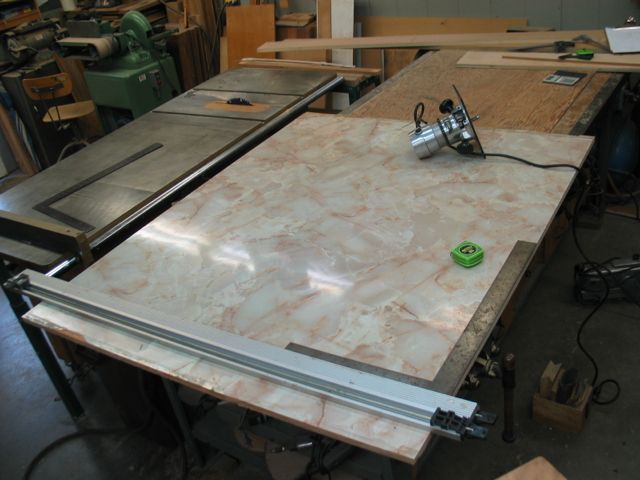
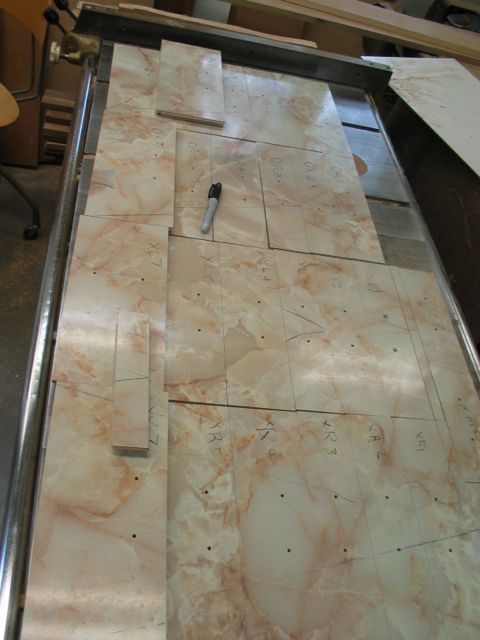
Trimming the marble pattern laminated panel.
Laying out the drawer runner strip locations. Spacers were cut to locate the runners and are at the bottom of the photo in the cabinet.
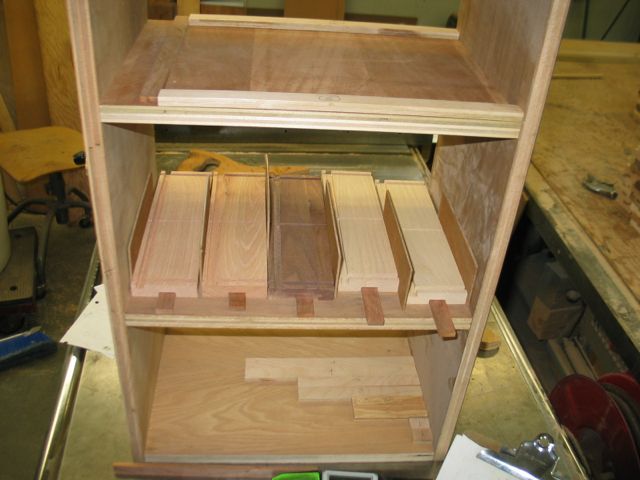
Drawer parts being test fit. The top unit had two central dividers. The drawer bottoms were 3/8 birch plywood grooved to match the dividers.
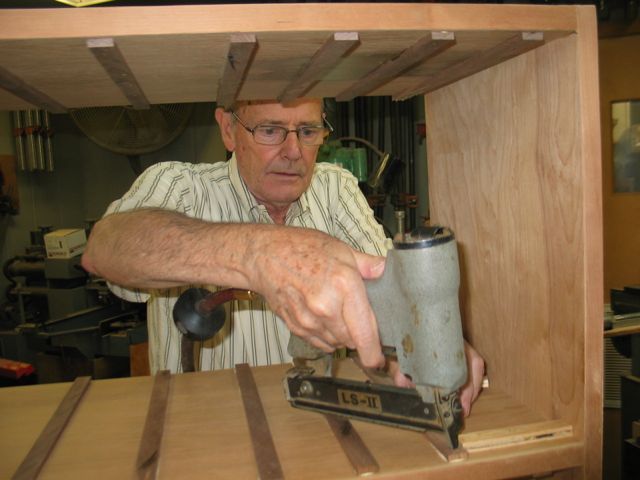
Tacking the drawer runners in place using the spacers.
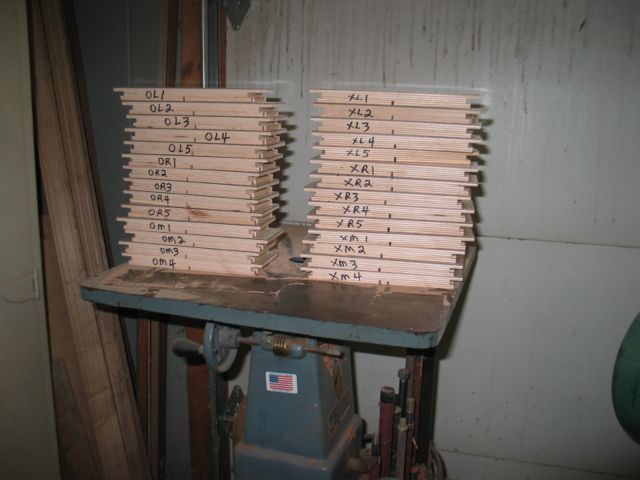
Drawer fronts marked so the marble pattern sequence will match throughout the cabinet front.
Double checking the layout once the holes for the pulls were drilled.

Cabinets assembled or drawer fit testing
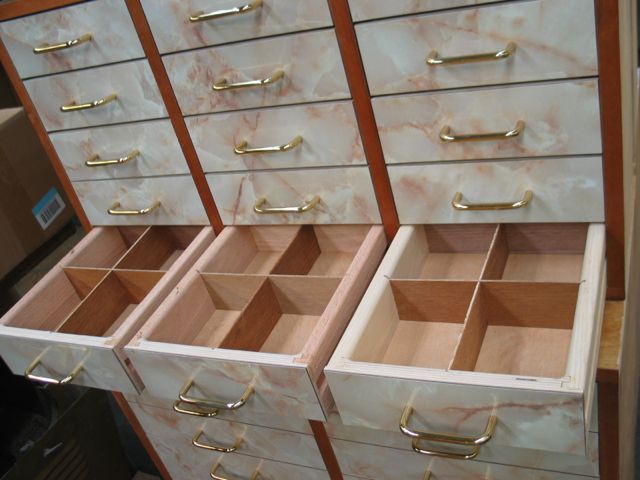
Upper unit drawers in place showing dividers. All 30 upper drawers had dividers

Completed cabinets including custom made floor floats.

Compilation photo showing the matching marble pattern to original.
I decided it was time to do something with that 5’x5’ panel, so I cut it up for drawer fronts for a couple of shop storage drawer units for the boys. I used lots of those halfway useable salvaged and new plywood cut-offs that line the walls of any shop. Even a lot of the lumber was salvaged from other jobs. While it turned out to be a little more involved than what I’d imagined, the end results seem worth it.
These will be presented to the boys next month as birthday presents.

Taken in May 1979 of Becky and the boys in the bath with the marble in the background.

The drawer side lumber ready to be worked.

Panels were glued up to approximate size of the cabinet sides to allow better use of the lumber for drawer sides.

Pile of shavings from the drawer side work

Top cabinet top and bottom with splines inserted. Splines were done with the Elu machine. Splines are doug fir ¼” plywood planed to 4mm.

Lower cabinet cases being glued up.

Trimming the marble pattern laminated panel.

Laying out the drawer runner strip locations. Spacers were cut to locate the runners and are at the bottom of the photo in the cabinet.

Drawer parts being test fit. The top unit had two central dividers. The drawer bottoms were 3/8 birch plywood grooved to match the dividers.

Tacking the drawer runners in place using the spacers.

Drawer fronts marked so the marble pattern sequence will match throughout the cabinet front.

Double checking the layout once the holes for the pulls were drilled.

Cabinets assembled or drawer fit testing

Upper unit drawers in place showing dividers. All 30 upper drawers had dividers

Completed cabinets including custom made floor floats.

Compilation photo showing the matching marble pattern to original.
