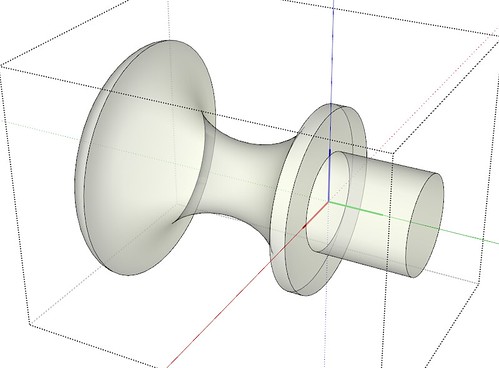
As I showed Mike, I tend to draw knobs and pulls in the orientation in which they will be used and when I make the component, I set the component origin centered on the back of the knob. If the knob has a tenon, the origin is placed inside the knob at the shoulder so the tenon goes into the drawer front or door as shown here.
In Mike's case, since he had a knob he'd gotten from someone else, I showed him how to rotate it to the right position and make sure the component's origin and axes are the the right place. In the case of his knob, that was easy enough. I just opened the component for editing, selected the geometry of the knob and rotated it about the red axis.
The result of this is that there's no need to include additional edges or markings to aid in placing the component. Just bring it in from the Components window and drop it where you want it to go. I'll try this animated GIF to see if it works.

Generally I'm modeling a single piece of furniture with the front parallel to the red axis (where the front should be) so I just set up the component axes so they are aligned with the model axes. It's also possible to give components gluing attributes but that doesn't tend to play well when using guidelines to help alignment. In those cases where the door or drawer is not parallel to the red axis, as in a kitchen model, it's easy enough to place the knob where I want it and then rotate it to the correct orientation.
Since all of the knobs I've made have the same relative component location and axis orientation, it's also simple to swap pulls if desired. Select the ones in the model, find the replacement in the Components panel, right click on it and choose Replace Selected from the Context menu. Presto! Done.

