
I decided to try a skill building project and ordered a set of project plans from this site:
http://www.shopwoodworking.com/product/download-project-stickley-poppy-table/
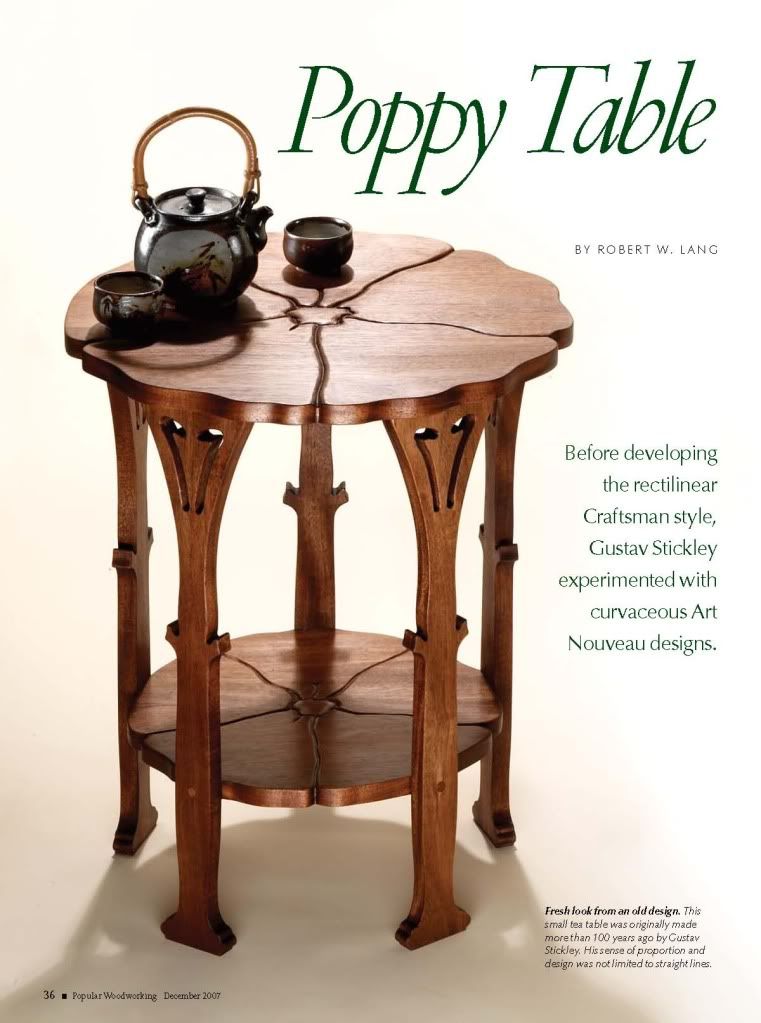
The finished table should look like this:
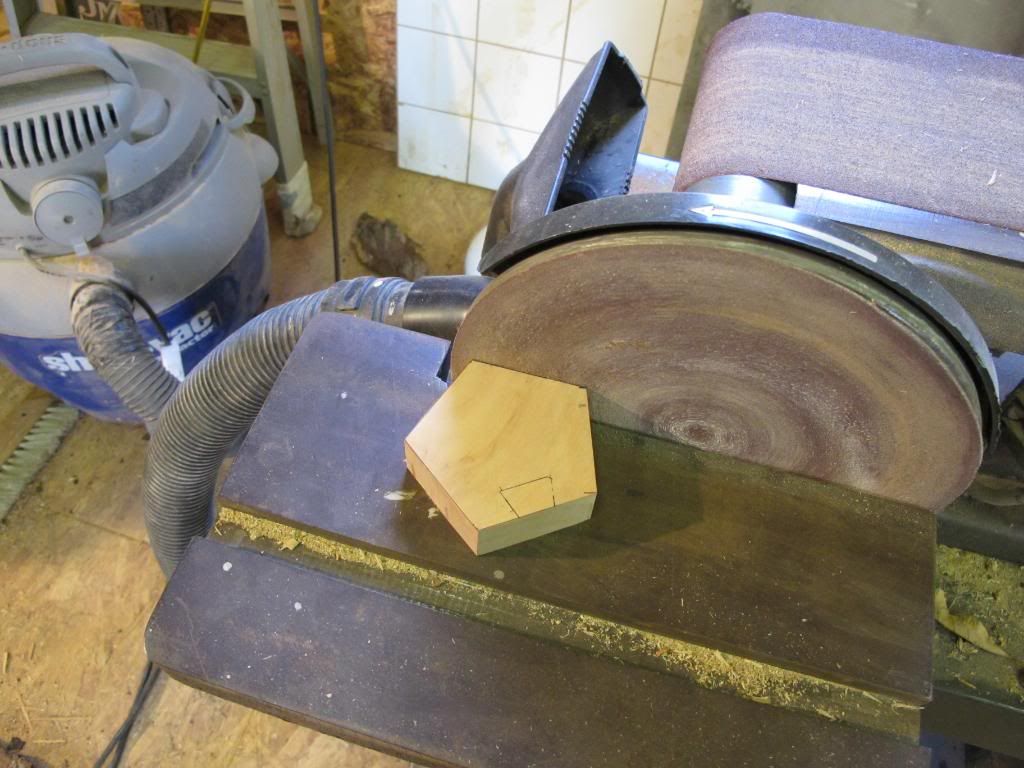
As you can see the table does not have any apron. The top is connected to the legs using five strechers connected to a pentagonal hub. The first step is to make the hub in the shape of a pentagon with 2" sides. The plan calls for cutting close to lines with a band saw and then cleaning up with a block plane and shooting board. I like power wheneve possible so I cut close to the lines with a band saw and then cleaned up with a disk sander.
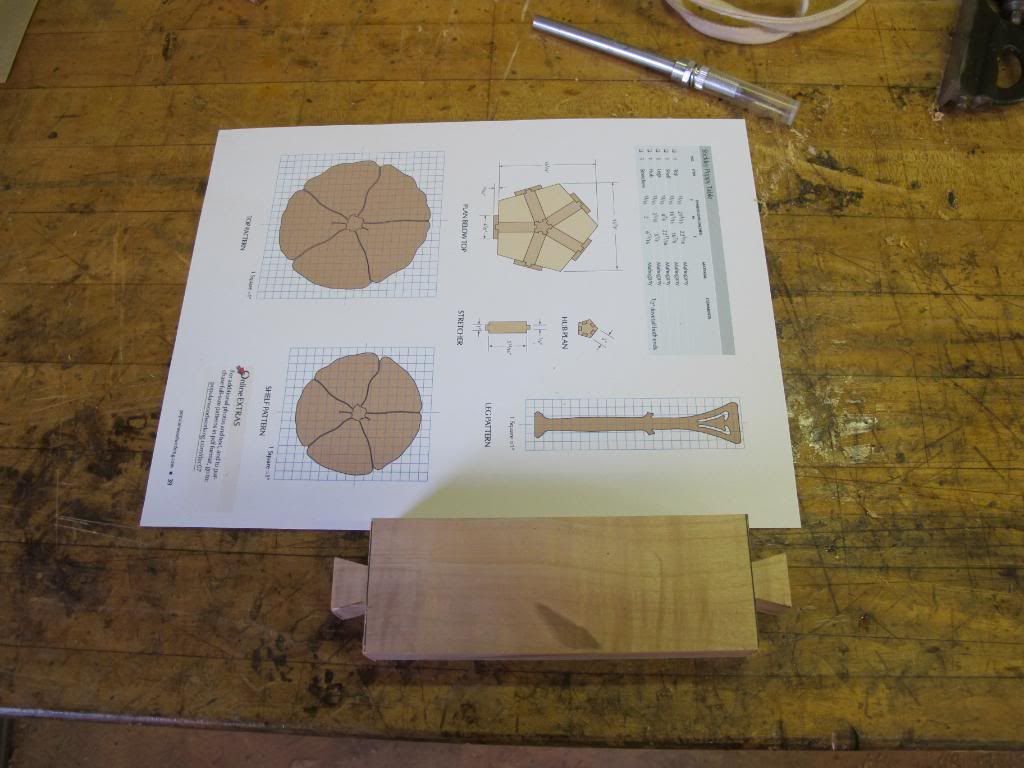
The next step is to make five stretchers that look like this:
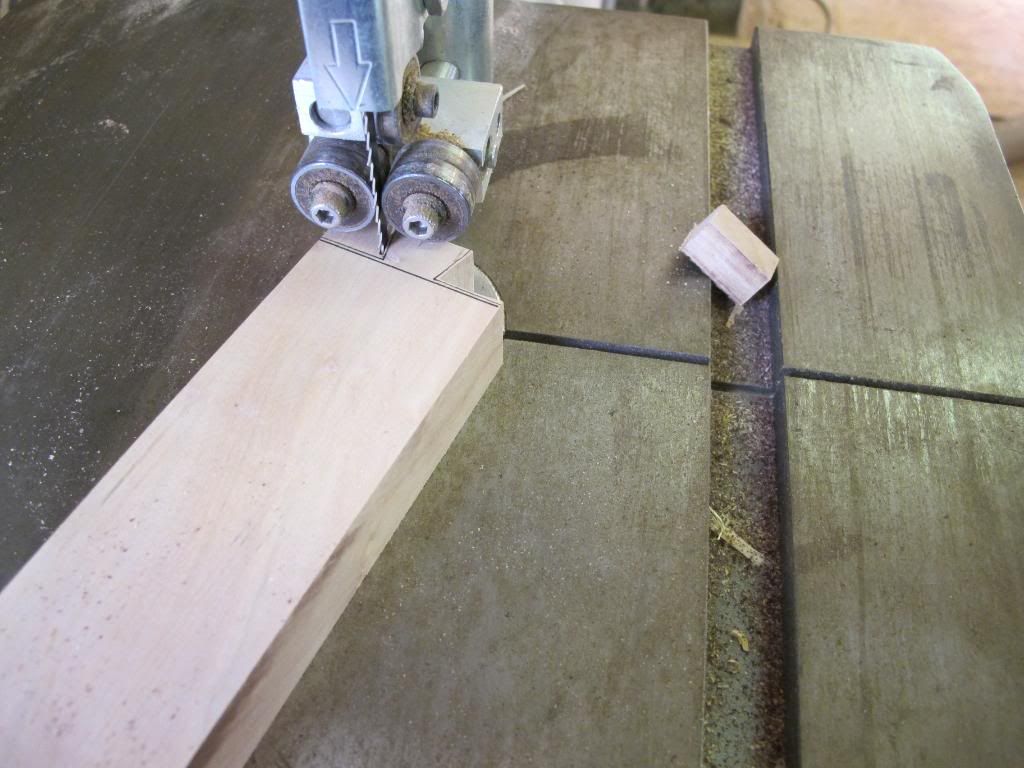
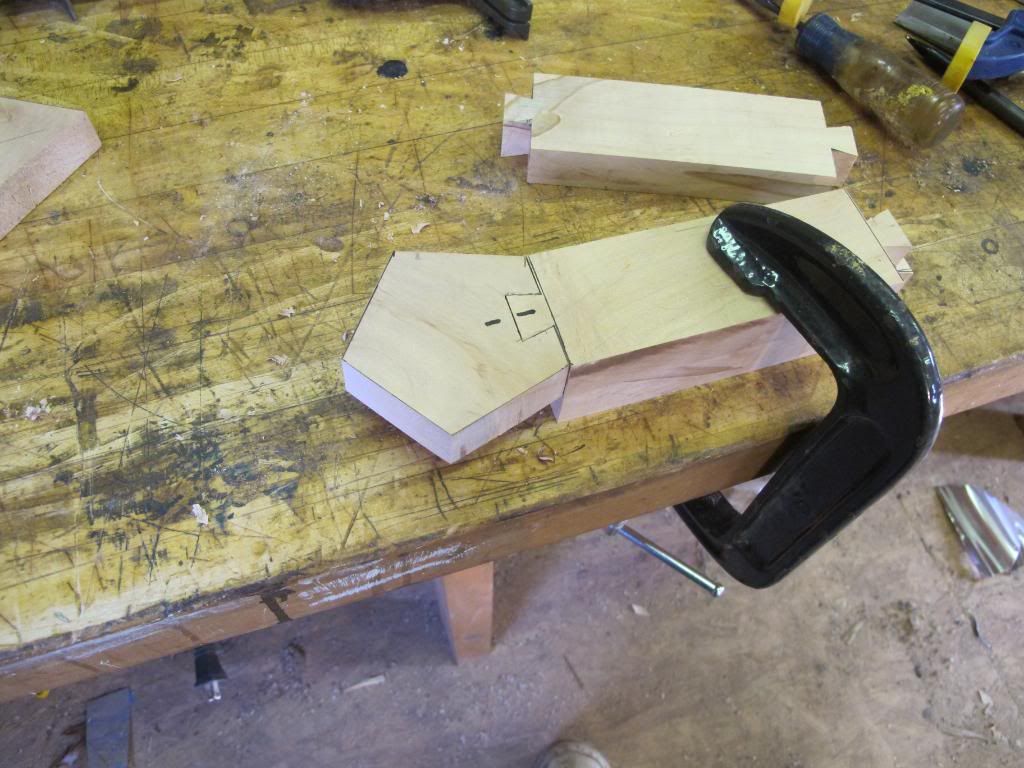
Lay out the pins on the each end of the strechers and cut away the waste at the band saw:
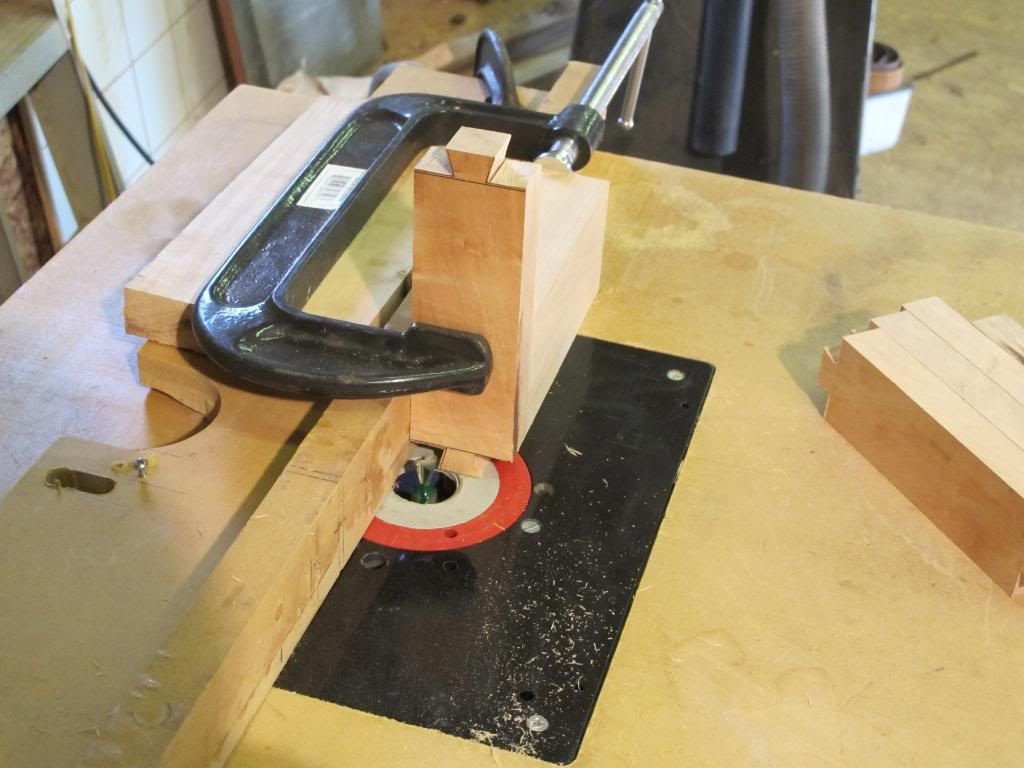
Mill a 2x2 block about 10" long to use as a clamp block to mill the pins on each end of the strechers at the router table.
Now lay out the tails on the hub and back to the bandsaw cutting way close to the line:

Clean it up by hand and fit to the strechers numbering the matching parts as you go.
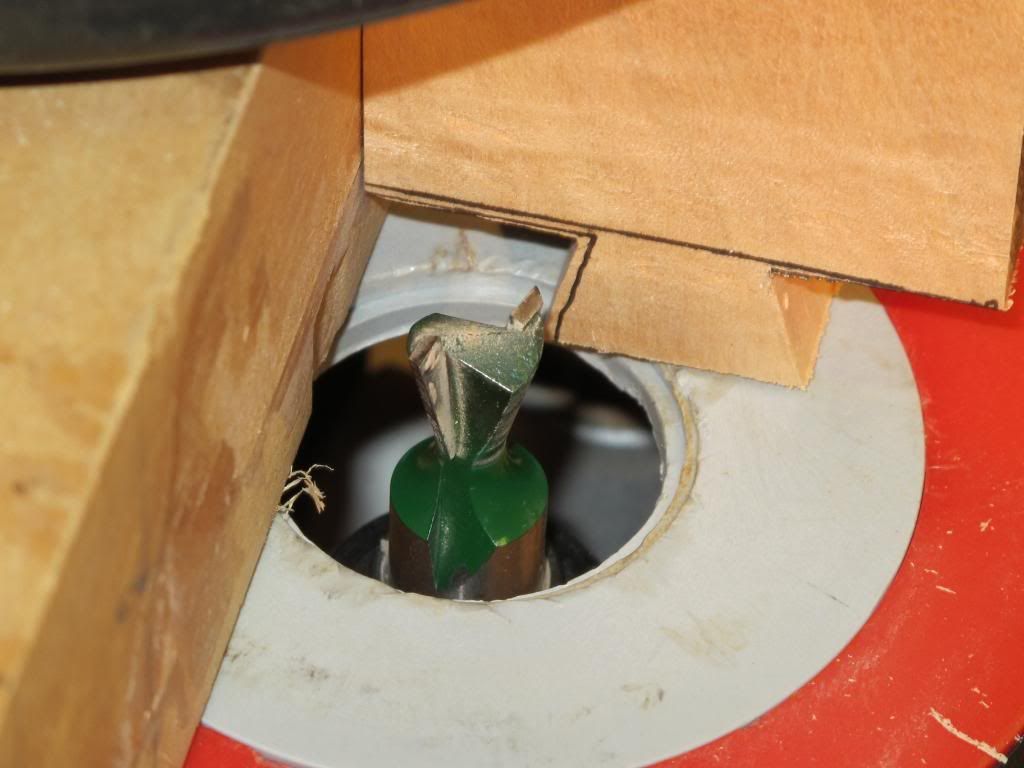
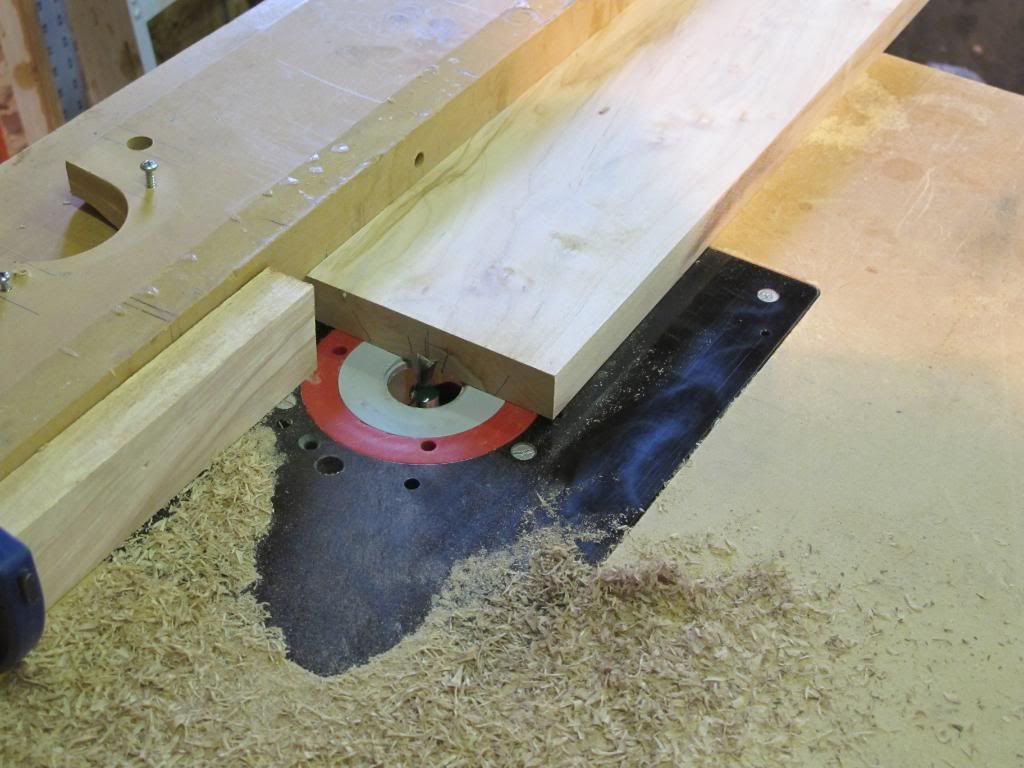
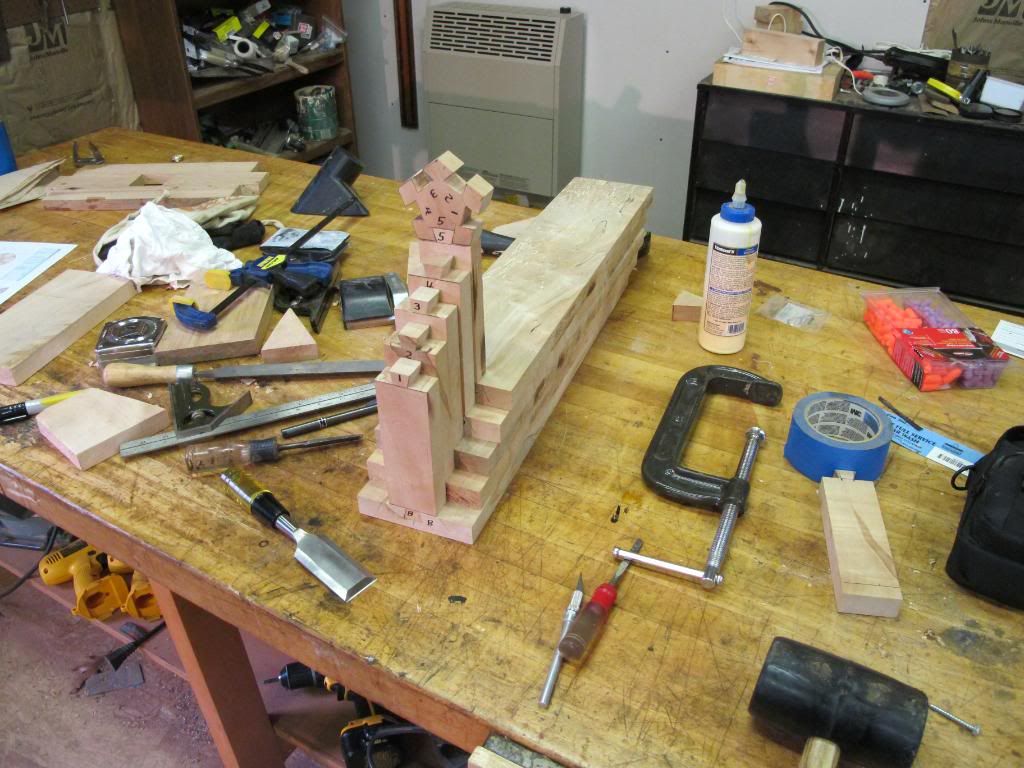
After cutting blanks for the legs it is back to the router table to cut the blind tails in the top of each leg fitting a strecher to each as I sneak up on a good fit.
Six hours of work - well ok play - in the shop and this is what I have.
More to come as I get more done.
Warren
http://www.shopwoodworking.com/product/download-project-stickley-poppy-table/
The finished table should look like this:
As you can see the table does not have any apron. The top is connected to the legs using five strechers connected to a pentagonal hub. The first step is to make the hub in the shape of a pentagon with 2" sides. The plan calls for cutting close to lines with a band saw and then cleaning up with a block plane and shooting board. I like power wheneve possible so I cut close to the lines with a band saw and then cleaned up with a disk sander.
The next step is to make five stretchers that look like this:
Lay out the pins on the each end of the strechers and cut away the waste at the band saw:
Mill a 2x2 block about 10" long to use as a clamp block to mill the pins on each end of the strechers at the router table.
Now lay out the tails on the hub and back to the bandsaw cutting way close to the line:
Clean it up by hand and fit to the strechers numbering the matching parts as you go.
After cutting blanks for the legs it is back to the router table to cut the blind tails in the top of each leg fitting a strecher to each as I sneak up on a good fit.
Six hours of work - well ok play - in the shop and this is what I have.
More to come as I get more done.
Warren
 ccasion1